
Introduction
Kanopy is an on-demand streaming video service available to Mason staff, faculty, and students. This tutorial will show how to create a clip and share/embed the clip in Blackboard. To learn how to create an account and login to Kanopy, please visit "How to Create an Account and Log In to Kanopy" tutorial. To learn how to share/embed a playlist (multiple clips) in Blackboard, please visit "How to Create a Playlist and Share/Embed in Blackboard" tutorial.
Creating a Clip
-
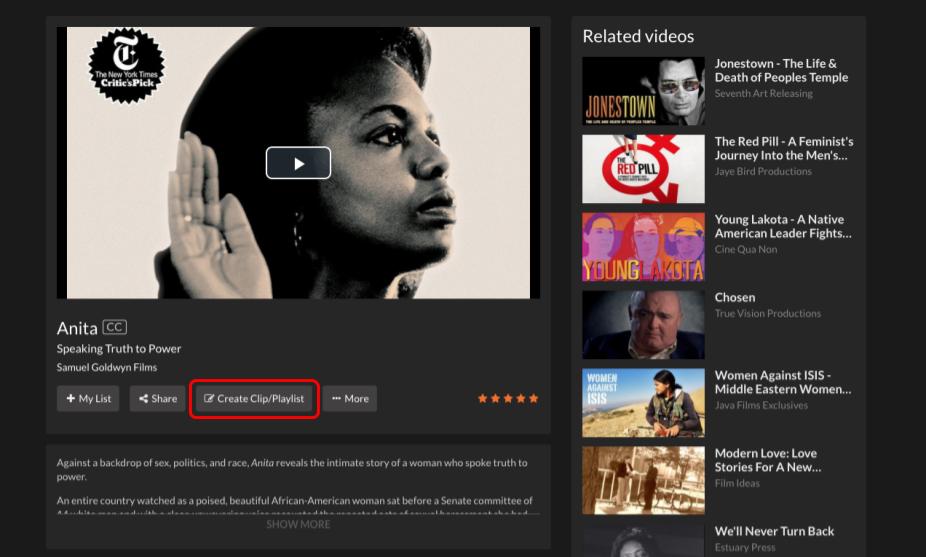
Choose a video and click “Create Clip/Playlist.”
-
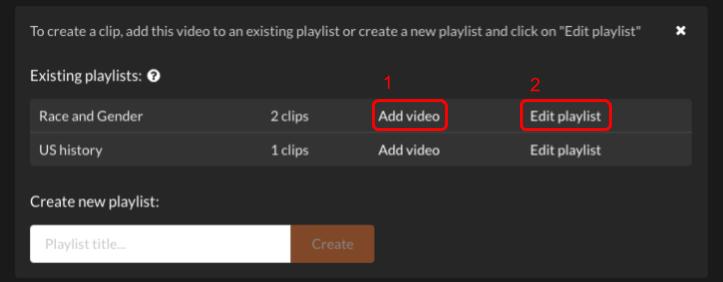
Add the video to an existing playlist or create a new playlist. Once you have added the video, click “Edit playlist.”
-
Click “Edit” on your playlist to create a clip.

-
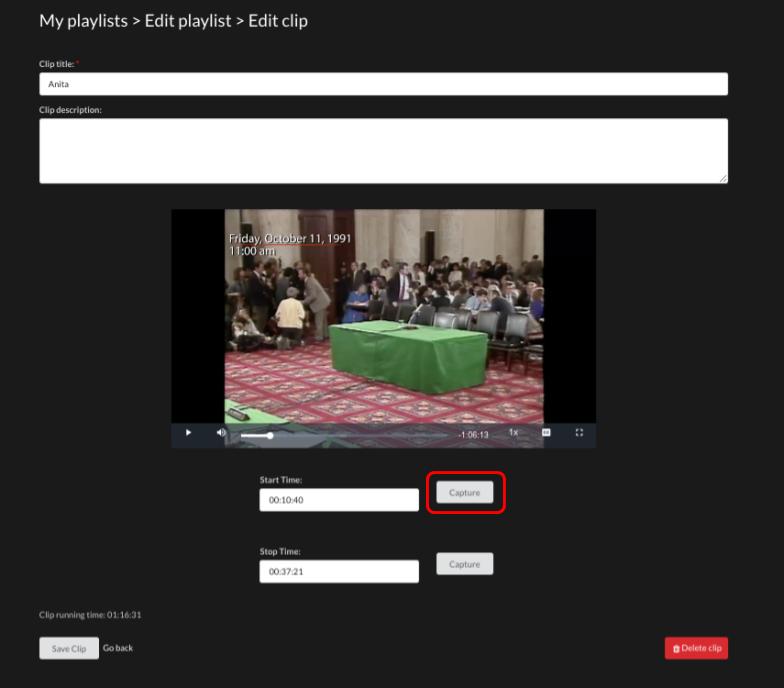
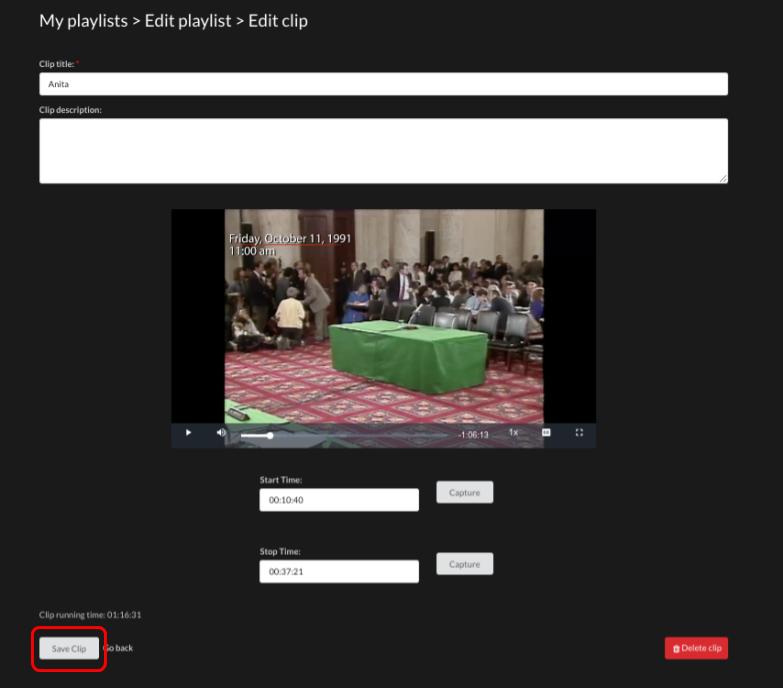
To select the starting point of your segment, click on the first “Capture” button when the film has reached your desired starting point. You can also type in the start time into the field and click “Capture.”
-
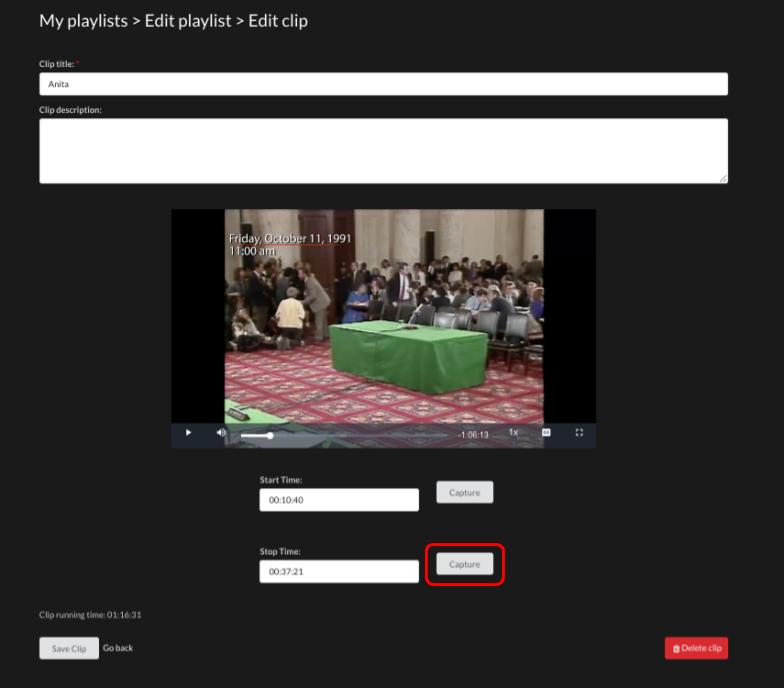
To select the ending point of your segment, click the second “Capture” button when the film has reach your desired ending. You can also type in the end time into the field and click “Capture.”
-
After you are done capturing the clip, click “Save Clip” on the bottom left.
-
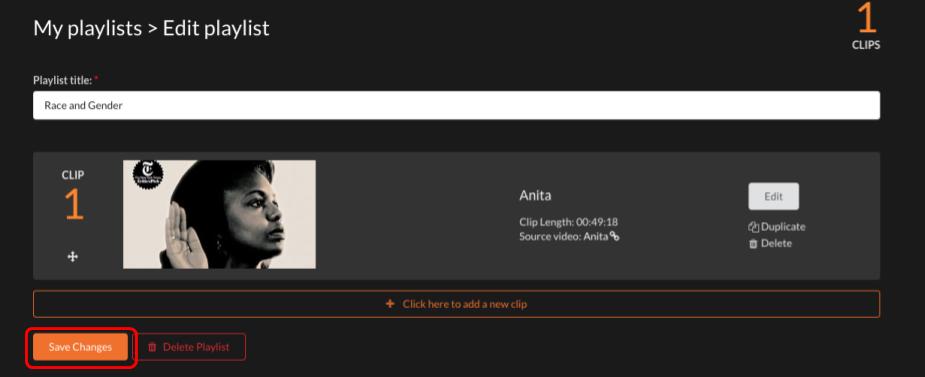
Click “Save Changes” on your playlist.
Sharing and Embedding the Clip in Blackbaord
-
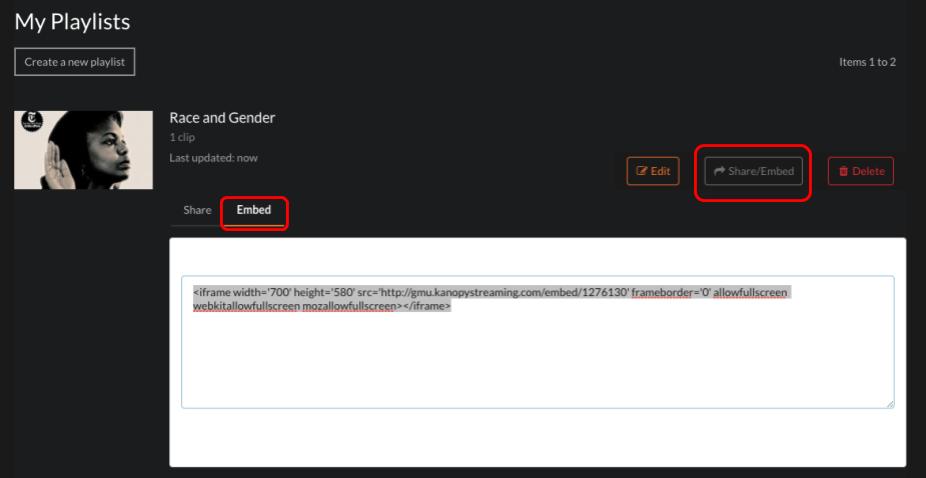
To share or embed the clip, click “Share/Embed” on My Playlists. The Share link will appear as the default view, but you can select the Embed tab next to it to display the embed link. Then, copy the entire embed link.
-
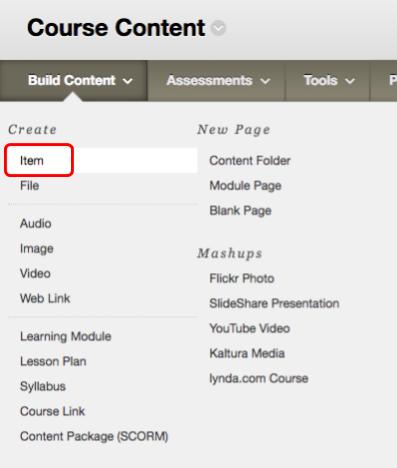
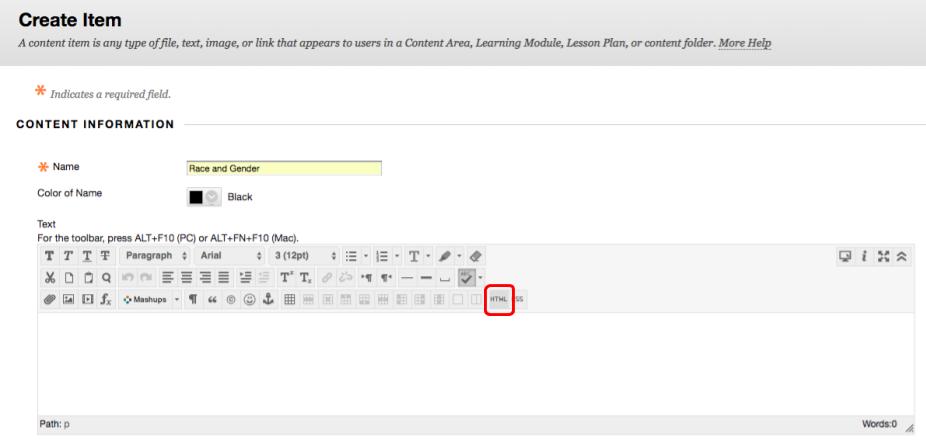
To embed the clip to Blackboard, choose your course on Blackboard and go to Course Content > Build Content > Create Item.
-
Add a name for the Item under “Content Information.” Then, click “HTML” in the text box.
-
Once you clicked “HTML,” you will see a new window. Paste the embed link you copied from Kanopy in the box. Make sure to add an “s” after “http” in the embed code to create an HTTPS link. Click “Update.”

-
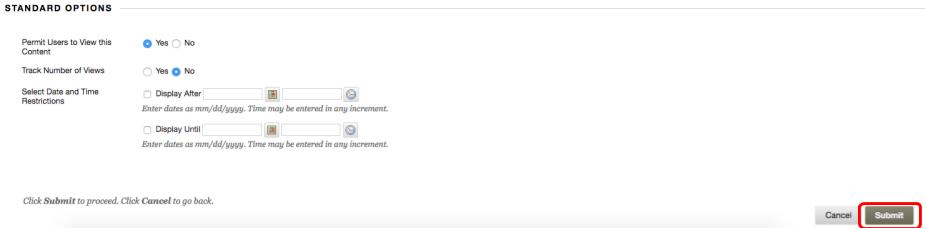
You can select date and time restrictions under “Standard Options.” Click “Submit” on the bottom right when you are ready to upload the clip to your Course Content.
Additional Questions and Help
If you have trouble or questions about Kanopy, ask Heather Darnell, our media librarian, or check our tutorials for other Kanopy tutorials.

How to Create a Clip and Share/Embed the Clip in Blackboard
is licensed under a Creative Commons Attribution 4.0 International License.